CAll Us: +1 888-999-8231 Submit Ticket

The Ultimate Magento 1 to Magento 2 Migration Guide

Still on Magento 1? Today might be a good time to start working on a migration plan to a newer platform. In this guide, we will cover the process of migrating your data and customizations from Magento 1 to Magento 2.

While Adobe stopped supporting the original Magento software in June 2020, there’s a good chance  you are still using Magento 1 to sell your products online. This is not inherently bad, given that there are products like Hostdedi Safe Harbor where you can get expert Magento 1 support for a fair price, but at some point it’ll be wise to replatform to a solution that’s being actively developed using the latest practices and technologies. 

With that in mind, we created the ultimate Magento 1 to Magento 2 migration guide.

Here’s what you need to know:

Data:

The first step should always be assessing what’s going to be migrated and what’s going to be left out of this process. This is a great opportunity to reduce your site’s footprint and make it lightweight. 

Do you really need all those product variations? How about the CMS pages you created for marketing and special events? Once you decide what’s going to be migrated over to the new platform, there are several tools you can use to automate the process. A complete file and DB backup is recommended before beginning the migration just in case it doesn’t complete and files are removed or modified in the process.

Magento released their own migration tool to handle some entities, including stores, websites, and system configurations like shipping, payment, tax settings, created orders, reviews, changes in customer profiles, plus all operations with orders, products and categories. That tool can be found here.

There will be data that needs to be manually migrated and that usually includes media files, storefront designs, access control lists and admin users. A how-to guide for manually migrating entities can be found here

Integrations:

Most of the stores we see at Hostdedi contain several 3rd party integrations: ERPs, PIMs, CIMs, CRMs, etc. Ads and marketing integrations are the most common ones used for Magento.  

Almost none of these integrations can be migrated automatically due to the differences in architecture between Magento 1 and 2 but the good news is that vendors usually offer migration tools and even modules for both versions, making this migration work simpler. 

Contact your preferred vendor and ask about their Magento 2 module andchances are you won’t have to develop these integrations from scratch. In the case where there’s no official Magento 2 module for the integration you need, check the Magento Marketplace to try and find a matching module for your integration. 

Extensions:

While Magento 1 used to include a web installer to download and install modules, Magento 2 completely removed this feature for security reasons. Sites with more than 100 modules were not common back then and code quality checks were almost on existent.

With the new Marketplace implementing quality checks, the quality of Magento’s extensions has improved dramatically. And while installation is not as simple as it used to be, a consistent standard is being met and code issues are less common for Magento 2. 

Bloated sites with multiple extensions doing the same thing is extremely common in Magento 1 and replatforming to Magento 2 is a good opportunity to remove any unused module to avoid extra classes being loaded and performance degradation. 

Look and feel/Themes:

Theming is often dismissed as “not that important” or “just design” but the truth is it’s a key part of the user experience. Both Magento 1 and 2 had frontend technologies that were already old when they were released (Prorotype.js and Knockout.js), but nowadays there are better options like PWAs or hybrid approaches developers can enjoy developing. There’s not much that can be directly ported between Magento 1 and 2 when it comes to themes and front end implementations, but given the rise of headless and PWA implementations and the API coverage, it has never been simpler to develop modern and usable front ends for your ecommerce store.

Hosting:

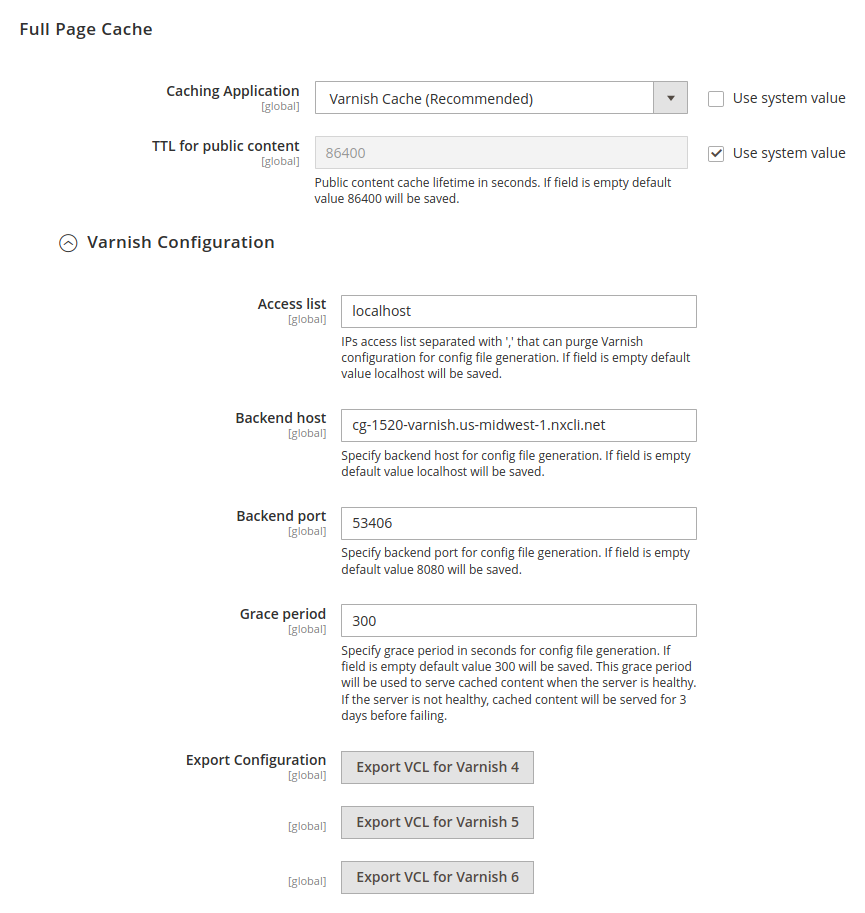
It’s really important to keep in mind that the performance profile of Magento 2 is very different from Magento 1. Don’t leave your server sizing and decisions for last and always remember to test your builds in an environment as close as possible to your live production. The infrastructure requirements are different as well with software like Varnish and ElasticSearch being supported out of the box or as system requirements.

Sizing the resources you need might not be as simple as it was with Magento 1 and that’s why the usual recommendation is to reach out to your hosting provider with some historical data to get a quote. Magento 2 is a resource hogging beast and should be treated as such. While developers love to set up production environments, they often forget you actually have to maintain those with security updates and patches. Going the Managed Cloud route should be a simple decision if you don’t already have an in-house sysops team with previous experience with Magento clouds.

Conclusion:

We developed Hostdedi Safe Harbor to provide the updates and security needed by M1 stores post-EOL as they consider their next steps. If you’re a Hostdedi customer and not on Safe Harbor yet, it’s a simple add and can buy you time. Planning for migration early in 2021 will give you the runway you need to make a solid choice for your next platform and be ready for your store’s next phase of success – especially in time for Holiday. The most important takeaways are to understand how different Magento 1 is from Magento 2, ensure you’re looking at all your options, and feel confident in the choice you make for your next platform.

While guides like this are helpful, most of the work required for migration will need to be done by a system integrator or a development agency and having a good technological partner will help you solve common issues and scale when needed. We’re here to help with referrals or even to bat around ideas. You can explore more about Hostdedi here.

Source link

Elasticsearch in Magento 2.4: It’s not just a good idea; it’s required

When Magento 2.4 was introduced in July 2020, Elasticsearch became a requirement. If you haven’t already upgraded, you’re going to want to take action as soon as possible to deliver the best possible experience to your customers. 

What is Elasticsearch?

We’ve all gone to sites where the search function returned results that were incomplete, irrelevant, unfilterable, or otherwise difficult to make sense of. For quite some time, Elasticsearch has been a popular solution to improve search results. It allows merchants to tune search results based on frequency, recency, popularity, and other factors. It helps shoppers get to the results they want, minimizing the effect of typos, words out of order, and other all-too-human gaps in the input.

Because it’s proven so useful, Magento made it a required component in Magento installs of version 2.4 and beyond. To be specific, Elasticsearch 7.6.x is the recommended version for Magento 2.4.

So whether you’re a Main Street merchant or a multi-million dollar brand, older hosting environments will need to be upgraded. Which makes it a perfect time to take the leap to a hosting provider that will do more than just keep you online. 

Hostdedi containers support Elasticsearch (and more)

Hostdedi Managed Magento plans support many services including Elasticsearch with Cloud Containers. Containers allow you to add the services you need for your Magento installation, sized with the resources required for your site, including:

  • Elasticsearch (the search utility that’s now required in Magento 2.4)
  • RabbitMQ (an open source message broker that helps websites to exchange data)
  • Solr (another search utility, popular with Magento 1 merchants)
  • Varnish (reduces server load by caching dynamic content)

Hostdedi Magento plans are available in sizes XS through 2XL to meet the needs of  Magento merchants of all sizes. And if your site has outgrown the solution you’re currently running, our dedicated server offerings are also equipped to handle Magento 2.4.

For Dedicated servers, Elasticsearch 7.6 may require other updates

Our Dedicated Servers and Cluster solutions are set up with CentOS7, Apache 2.4, and PHP 7.4, as required for Elasticsearch 7.6. If you are using an older hosting solution, you may find that the upgrade to Magento 2.4 requires an update so that these versions are current.

Whether you’re already hosting your Magento site with Hostdedi or you’re currently hosted elsewhere, Hostdedi support makes migration to a Magento 2.4-ready environment easy (and free). We’re at-the-ready to support your compliance for Magento 2.4 whenever you are. 

Learn more about all the benefits of Hostdedi Managed Magento here

Source link

The Ultimate Magento 2 Performance Checklist


At Hostdedi, we spend a considerable amount of time optimizing our infrastructure to make your Magento 2 store faster. After years of research and development, we’ve pulled together the ultimate Magento 2 performance checklist:

  1. Remove unused modules: Magento 2 comes with many pre installed modules that aren’t always needed. Yireo created a great module to disable the optional modules you don’t need through composer. The idea behind the module is quite simple: you replace any unused module with nothing to avoid loading unused modules and classes. This module and a complete how-to can be found here: https://github.com/yireo/magento2-replace-tools
  1. Enable CSS/JS minification and merging: Minifying and merging CSS files can greatly improve load times and the general performance of your store by cutting the number of requests your site makes when loading a page. You can minify and merge CSS and JS files from the admin panel by navigating to the Developer tab under Stores > Configuration > Advanced (keep in mind this tab will only show if you are using developer mode). Magento recommends using a 3rd party plugin like Baler or MagePack for JS bundling given that Magento’s bundling mechanisms are not optimal and should only be used as fallback alternatives.
  1. Enable production mode: While this one might seem simple, the number of sites we see using a different mode in Magento is staggering. No one should be running Magento 2 in production in a different mode, but we still see too many stores running on either default or developer mode. The best way to switch modes is via CLI: 

php bin/magento:deploy:mode:show

to see which mode is your store using and 

php bin/magento deploy:mode:set production

to set production mode

  1. Use Redis for session/default and full page cache: Redis is one of the most used key/value database engines and Magento 2 comes with integrated support to use it as a both session storage and default/full page. To configure your store to use Redis, run the following commands from your root folder:

bin/magento setup:config:set --cache-backend=redis --cache-backend-redis-<parameter_name>=<parameter_value>...

bin/magento setup:config:set --session-save=redis --session-save-redis-<parameter_name>=<parameter_value>...

You can find a complete list of Redis configuration parameters and values for sessions here and for the full page cache here

  1. Use Elasticsearch for Magento’s catalog search: Since Magento 2.4, MySql was deprecated (and removed) and Elasticsearch was introduced as the catalog search engine, greatly improving the speed and results of the searches. To enable Elasticsearch, navigate to your admin panel and under Stores > Settings > Configuration > Catalog > Catalog > Catalog Search you will find a tab called Search Engine. Configure your store to use your Elasticsearch endpoint, click Test connection and if everything worked, you’re all set. You can find the complete list of parameters to configure Elasticsearch here.
  1. Use Varnish to speed up your response time/TTFB: You either love or hate Varnish but at the end of the day, it greatly improves the TTFB, and if configured correctly, it can do wonders for the general usability and user experience of your site. Magento 2 features an out of the box integration, making Varnish configuration really simple. To configure Varnish, navigate to Stores > Settings > Configuration > Advanced > System > Full Page Cache, select Varnish from the Caching Application list and configure the rest of the options. A full list of all the parameters you can use to configure Varnish can be found here

You can also configure Varnish from the CLI by running:

php bin/magento config:set --scope=default --scope-code=0 system/full_page_cache/caching_application 2

  1. Use a CDN: A content delivery network is normally used to store media and static assets at edge servers near your customers for faster delivery. This means your assets are physically closer to your customer, resulting in faster response times. Configuring a CDN for Magento is not as straightforward as it should be but it can be achieved by using the admin and navigating to Stores > Settings > Configuration. Under General, click on Web and expand the Base URL sections. Once there, update the Base URL for Static View Files and Base URL for User Media Files with the URL of your CDN endpoint where static view and javascript files are stored. Do the same for Base URLs (Secure) and once done, click Save config. You might need to flush/clean your cache for this change to take effect. If everything worked as expected, you should be seeing your CDN url being used to serve most of your site’s static files.
  1. Enabling the Asynchronous email notifications, Asynchronous order data processing: during times of high concurrency, you might want to move processes that handle checkout, order processing email notifications and stock updates to the background. To enable async email notifications, go to Stores > Settings > Configuration > Sales > Sales Emails > General Settings > Asynchronous Sending

You can activate Asynchronous order data processing from Stores > Settings > Configuration > Advanced > Developer > Grid Settings > Asynchronous indexing

When enabled, orders will be placed in temporary storage and moved in batch to the Order grid without any collisions.

While there are no real magic tricks, we tried this guide in our cloudhosts and ended up with an A and a page load under 2 seconds on GTMetrix 🥳

If you’d like assistance enacting these changes, or are interested in our Managed Magento offering, please reach out to our award-winning support team 24/7/365 at [email protected].

Source link