Building Your Drupal 8 Site

Welcome to Part 3 of our series, Getting Started with Drupal 8. Go here for Part 2.
Last entry, you learned the basics of creating content, adding images, and dabbled in your first themes and modules. Before we start adding more your content — and we will in Part 4 — let’s look at some other fundamentals of managing your Drupal site.
Contents
Tailoring Your Site’s Identity
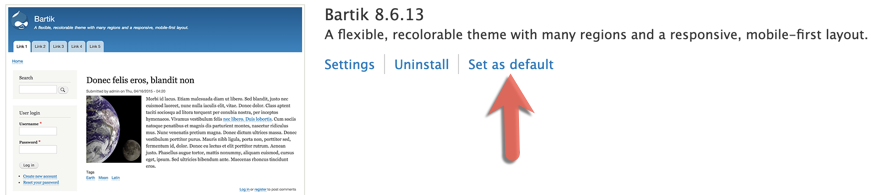
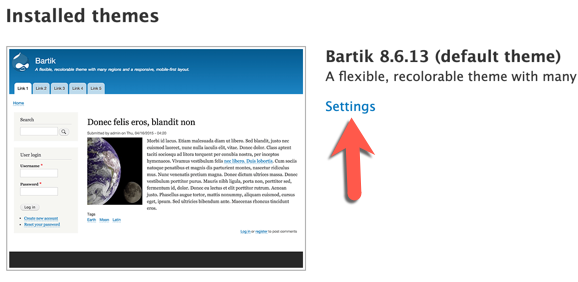
Although we installed a theme in Part 2, Navigating Drupal, this section uses the default theme, Bartik. If you are currently using a different theme, you can revert by selecting Manage > Appearance, locating the Bartik theme, then clicking Set as default.
Site Details
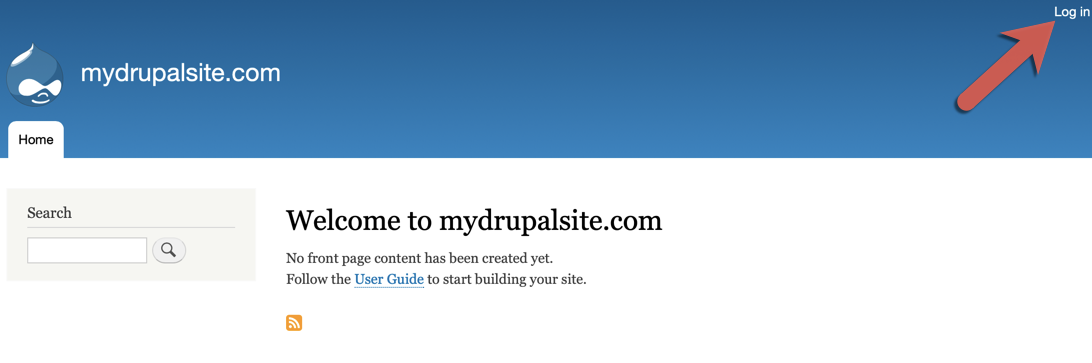
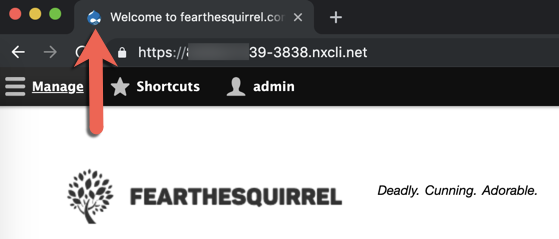
To start, view your current site as a user by opening an alternate browser where you are not currently logged in as an administrator. There’s a few ways to confirm you’re viewing it as a user, but the easiest is to check for the Log in option on the upper right.
It’s possible to move this, but we’ll cover that in a later entry.
First, let’s change your site name. From your admin menu, select Configuration > System > Basic Site Settings. In the SITE DETAILS section, fill the Site name and Slogan fields with whatever appeals to you.

The Email Address field is the email for the site itself, though it currently shows whatever email you provided when creating the site. You can change this later. This address will receive automated emails, such as password resets and other notifications. It is not what site visitors will use to contact you, which we will set later.
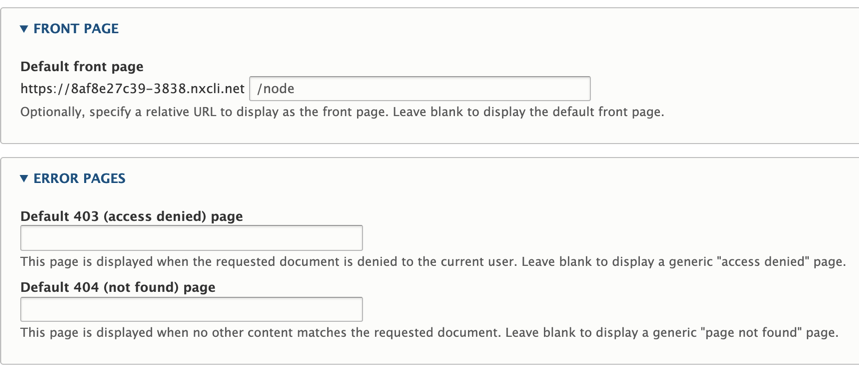
Scroll down to see areas to designate your site homepage (FRONT PAGE) and 403 (access denied) pages. Note where to find these, but leave them blank for now.
Click![]() , then click
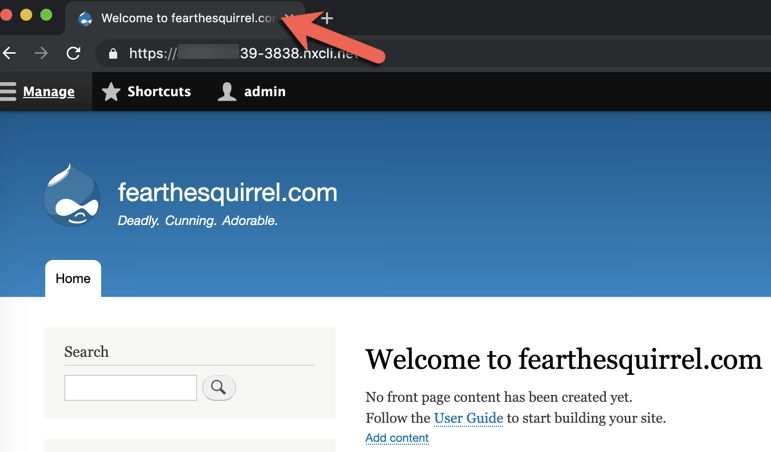
, then click ![]() to view your changes as an admin. While you’re at it, check out your browser tab. This is your first step in search engine optimization (SEO), which makes it easier to search engines to find your site.
to view your changes as an admin. While you’re at it, check out your browser tab. This is your first step in search engine optimization (SEO), which makes it easier to search engines to find your site.
Regional Settings
From your admin menu, select Configuration > Regional and Language > Regional Settings.
Make necessary changes to the Default Country, First day of week, and Default time zone drop-down options.
Click ![]() when done.
when done.
Adding Your Logo
If you don’t already have a logo, save the “FEARTHESQUIRREL” logo to your local device. You can always change this later.

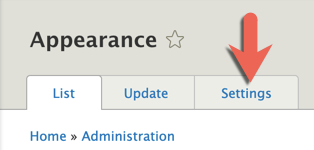
From your admin menu, select Appearance, then click the Settings tab.
In the LOCAL IMAGE section, clear the Use the logo supplied by the theme checkbox. In the Upload logo image section, click ![]() to upload your logo. Click
to upload your logo. Click ![]() when done, then return to your homepage.
when done, then return to your homepage.
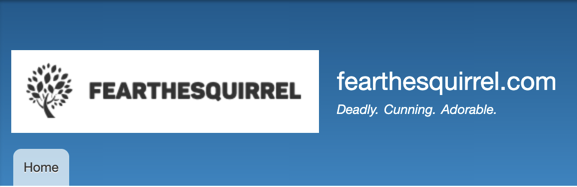
It’s a welcome replacement for the Drupal logo, but it clashes with the default blue at the top of the page. To fix it, select Appearance, then locate the Bartik theme and click Settings.
You will now see a COLOR SCHEME and Preview section.

The Color set drop-down list is currently set to the default Drupal appearance, Blue Lagoon. It provides a handful of other options, but ignore those for now.
For the sake of learning the basics, we’re adopting a minimalist approach:
- Set the Header background top and Header background bottom fields to pure white. You can use the color grid, or just enter FFFFFF in both fields.
- Oops! The white background washed out our slogan and some of the other text. Change the Title and slogan field to black. Either use the grid, or enter 000000.
- Adjust the Sidebar borders field to black, just as you did in step 2.
- Click
 , then return home to check your work.
 - As you can see in the preview, the site name next to our logo is redundant. Let’s remove it. Click
 on the upper right.
 - Click the
 by the site name, followed by Configure Block.
 - In the TOGGLE BRANDING ELEMENTS section, clear the Site name check box, then click
 .
. - You can view your site from your home page, but now would be a good time to view it from your alternate browser so you can see it as a visitor would.

Sparse but clean!

Adding Your Favicon
Let’s replace the Drupal favicon appearing in your browser tab with our own.
If you don’t already have a suitable Favicon, download the one shown below to your local device.

Select Appearance from your admin menu, then once again locate the Bartik theme and click Settings. Scroll down to the FAVICON section, then clear the Use the favicon supplied by theme check box.
In the Upload favicon image section, click ![]() to upload your logo. Click
to upload your logo. Click ![]() when done.
when done.
Return to your home page to view your new favicon!
Setting Permissions and Roles
Drupal is designed for teams of multiple users. It is possible to tailor specific roles and permissions without adding modules.
Access your permissions and roles by selecting People from your admin menu.
Permission Fundamentals
Click the Permissions tab.
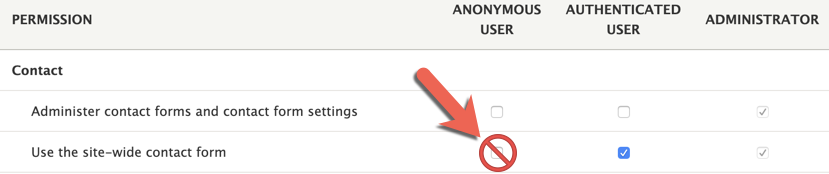
Drupal’s default installation provides three types of users; anonymous, authenticated, and administrator. Take a few moments to scroll through the list and take a glance at the default permissions for each type. You can customize any of these roles.
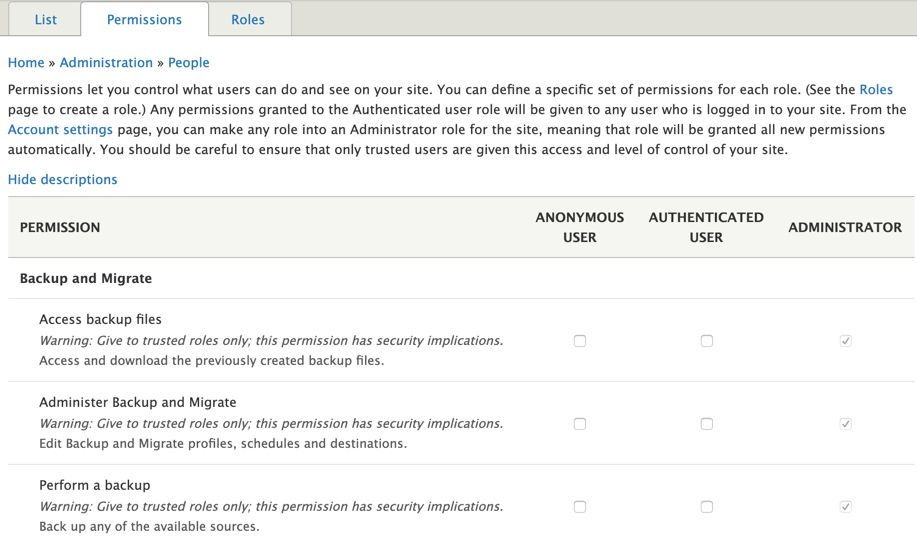
Anonymous users
Anonymous users are unregistered. Anyone visiting your site for the first time will be this type, and the View published content permission means they can view your site. Otherwise, they have very few permissions, but we recommend going one step further: disable their ability to contact the site using the site form. This will help prevent spam.
Authenticated users
Authenticated users represent users logged in with registered accounts. Unlike anonymous users, they can use shortcuts, contact the site, view basic HTML, and post comments. We’ll save the topic of comment moderation for a later entry in this series.
To set up the process by which anonymous users become authenticated users, go to your admin menu and select Configuration > People > Account Settings. Scroll to the REGISTRATION AND CANCELLATION section. 
The default settings achieve a good balance of security and convenience for many sites. The current option under Who can register accounts?, Visitors, but administrator approval is required, means admins must approve any user attempting to become an authenticated user. The top option, Administrators only, means visitors wanting to become authenticated users must contact an admin directly, who will create the account on their behalf. Your choice will depend on the purpose and volume of your site.
Administrators
Administrators have access to all areas of the site. This role can be given to anyone. As the site’s creator, however, you are the superuser and it is not possible to change the superuser’s permissions.
If you plan to have several people helping you work on your site, it is best practice to avoid handing out this role to everyone. Continue to the next section for details.
Creating Roles
You can designate different “flavors” of administrators by creating new roles. While the “how to build a site development team” question is outside of our scope, possible roles include:
- Site builder: Researches and maintains modules, structure, and configuration
- Site designer: Creates CSS and maintains appearance and aesthetics
- Content manager: Writes, edits, and manages all site content; may oversee content writers
- Community manager: Oversees content, permissions, and the comments
- System administrator: Monitors and maintains site performance, security, and uptime
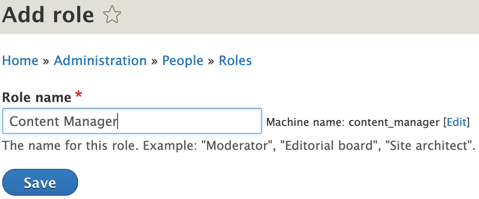
Drupal makes it easy to tailor permissions on an as-needed basis. To create a role, go to your admin menu and click People, then click the Roles tab. Click ![]() to get started.
to get started.

In the Role Name field, enter a name, like “Content Manager.” Click ![]() when done.
when done.
Any new role you create begins with the same permissions as Authenticated Users. To customize them, click the Permissions tab.
For a content manager, we’d likely want them to have any permissions related to creating, editing, or maintaining content. Many of these are found in the Node section. The exact permissions for each member of your team will vary according to your needs, your team size, and other factors.
Giving Users a Way to Contact You
It is usually in your interests to make it easy for authenticated users to reach you with feedback about your site.
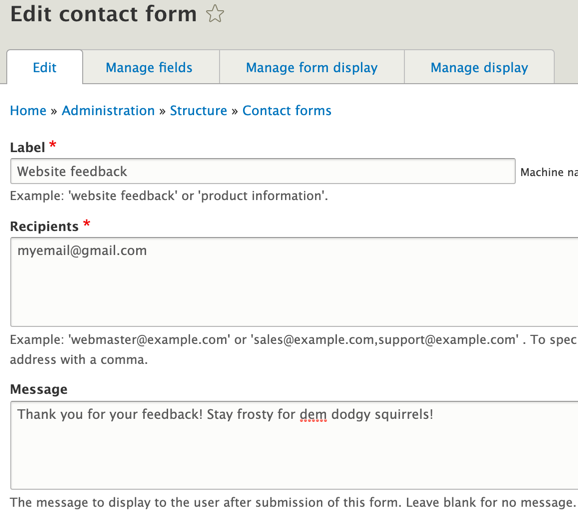
Go to your admin menu and select Structure > Contact forms.

For now, ignore the Personal contact form, which allow users to contact one another, not you. Go to the Website feedback option, then click ![]() .
.
In the Recipients field, specify the email addresses to receive the feedback. In the Message field, enter the message viewed by the user after they send you feedback. Click ![]() when done.
when done.
Test your work. Return to your homepage, click Contact, and walk through the process to see if it unfolds as you planned.
You can create additional forms, but without modules, you can only have on default feedback form at a time.
Reports to Rememgber
Your default installation of Drupal 8 provides you with reports to help you maintain your site troubleshoot issues. To view your options, go to your admin menu, then click Reports.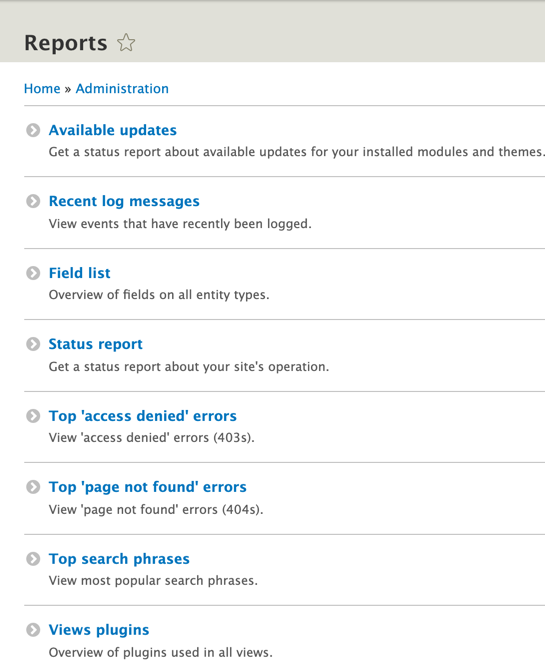
Available updates serves as a reliable way to check if you site is out of date. Running anything other than the latest stable version can expose your site to malicious activity. You can also subscribe your email address to update notifications by clicking the Settings tab. We also recommend following @drupalsecurity on Twitter and subscribing to RSS feeds for core security updates, contributed project updates, and public service announcements.
Recent log messages can help you monitor or troubleshoot your site. Use the Type and Severity filters to refine your search as necessary.
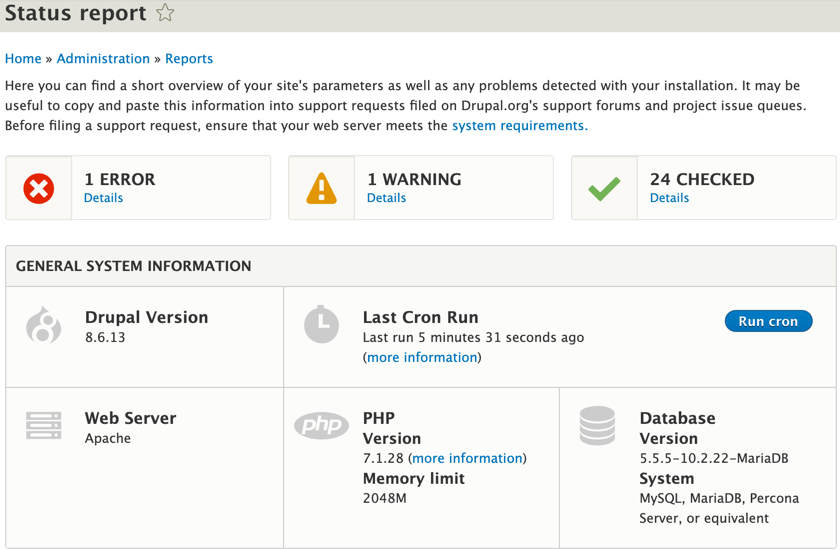
Status report a general assessment of the “health” of your site and provides other system information. If you have a more serious error or warning, it will often, but not always, be found here.
Next Steps
See you soon in Part 4 of our series, Getting Started with Drupal 8! On deck is trying our hand at graphics, metadata, newsfeeds, sidebars, and a few other squirrely surprises.
Posted in:
Hostdedi