How to Create a WordPress Website for Beginners
You’ve been building your brand behind the scenes. Now it’s time. You know you need a website to launch your brand, but you aren’t sure how to start. The entire idea of the site gives you anxiety. We get it! Building and launching a website can be intimidating. This post will cover step-by-step how to create a WordPress site for beginners.
Believe it or not, it doesn’t take a lot to launch a WordPress website. First, of course, you need an excellent understanding of your brand, its visual identity, and the site’s goals. But from a tech standpoint, the things you need to launch are minimal when you use WordPress.
Keep reading to learn how to create a WordPress website for beginners.
Step 1: Setup
Why WordPress? Many people decide to use WordPress because it has a reputation for being easy to use and free. But even though WordPress is free, where does the cost come from?
Two things you need to launch a WordPress website:
- Domain Name. The domain name is the URL for your website. It’s what people type to go to your site. Your brand’s name probably is best, assuming it’s available.
- WordPress Hosting. Choosing a company to host your website is one of the most critical decisions for your site. You should select a company that provides fully managed WordPress hosting. Don’t just go with the cheapest option. Instead, read reviews and ask those you know with successful, fully operational websites to make recommendations.
At Hostdedi, we have the perfect plan for beginners to get started with a WordPress site. We call it our Spark plan, and right now, you can start for only $13.30 a month.
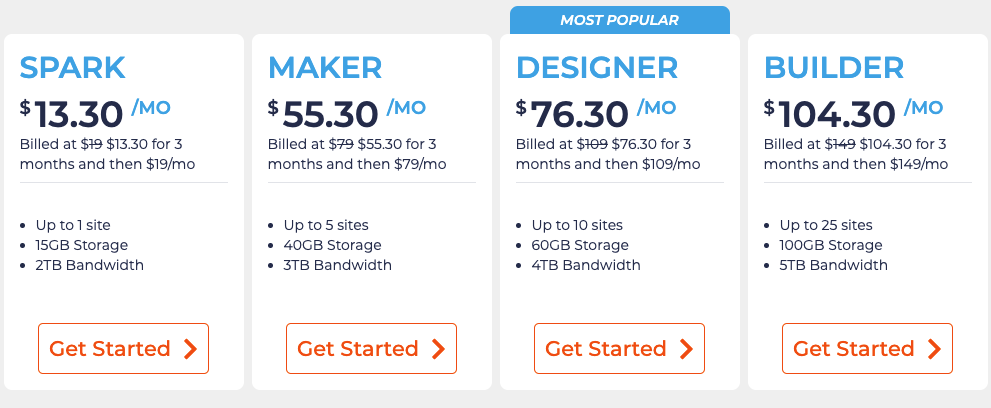
No matter where you start, we have plans that meet all of your needs and budgets.
Once you choose your hosting plan and WordPress installs automatically, then you get to start the fun of selecting a WordPress theme and customizing your website.
Step 2: How to Install a Theme
The next step in setting up your WordPress website might be the most fun. It’s choosing a WordPress theme. The theme is a template that controls the appearance of your site. Your WordPress site comes with the WordPress 2021 theme.
Many people find this starting place useful, but you may want to select the theme that most suits your brand image.
Switching between themes and installing new themes is easy. And especially for beginner WordPress users, trying on new themes can be a great way to start.
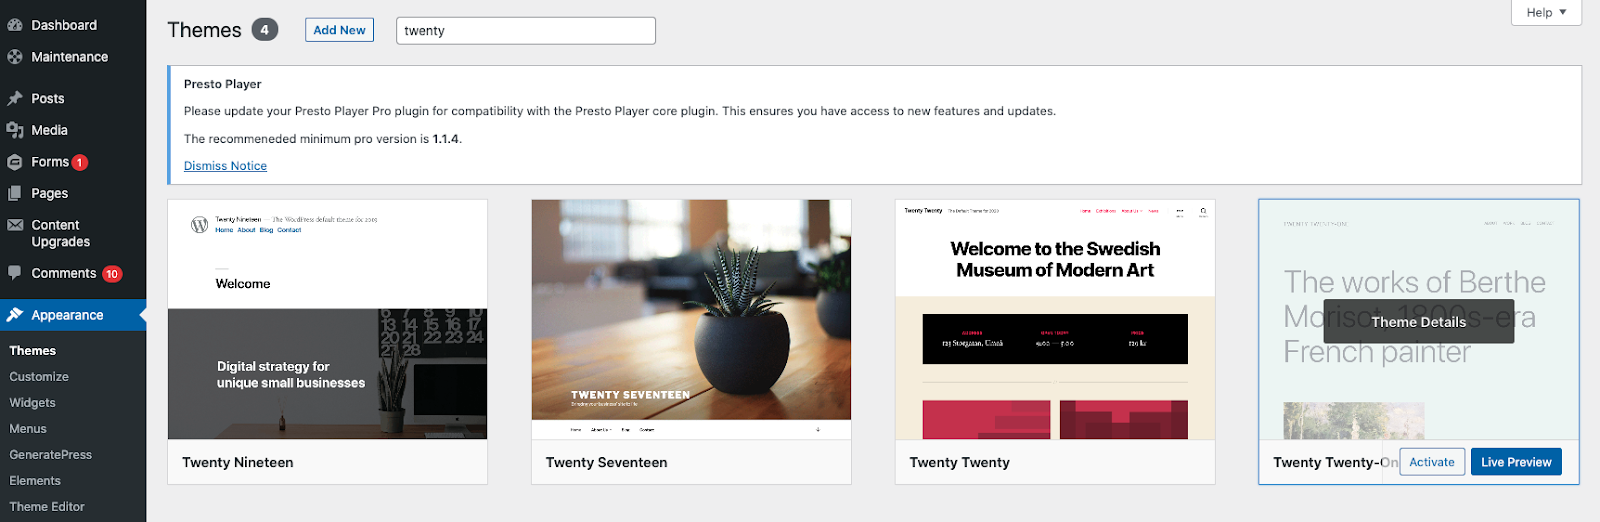
To choose and install a WordPress theme:
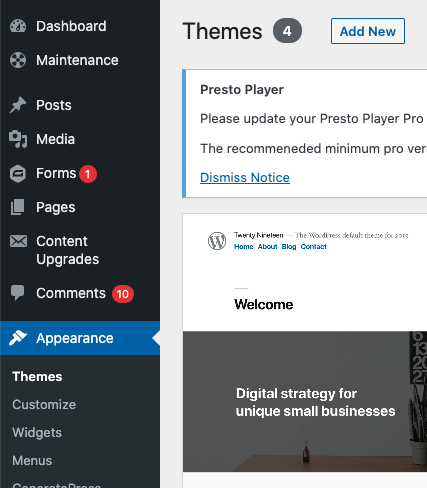
- Log into your WordPress dashboard
- Select “Appearance”
- Choose “Themes”
- Click “Add New”
Next, search through the thousands of free themes to find one you like. You can even use the filter function to narrow your options.
Once you’ve decided on and installed the theme you want, you can start to customize the WordPress theme.
Step 3: How to Add Posts and Pages to Your Site
Most WordPress tutorials direct you to customize your theme right after installation. But, it’s easier to customize your theme and design if you publish content first.
You can add content to your WordPress site in two ways — posts and pages. Posts are blog entries. They have a publish date, and typically all use the same template. Pages are static parts of your site, like your about or contact information. Pages can use different templates and design elements.
Related reading: The Essential Guide to WordPress Plugins >>
Most websites use a combination of posts and pages. For example, if you’re running a food blog, you would create pages for home, about, contact, and recipes. You would publish each recipe as a post.
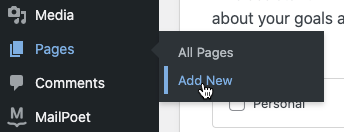
To add pages to your WordPress website:
- Log into your WordPress dashboard
- Choose “Pages” and select “Add New”

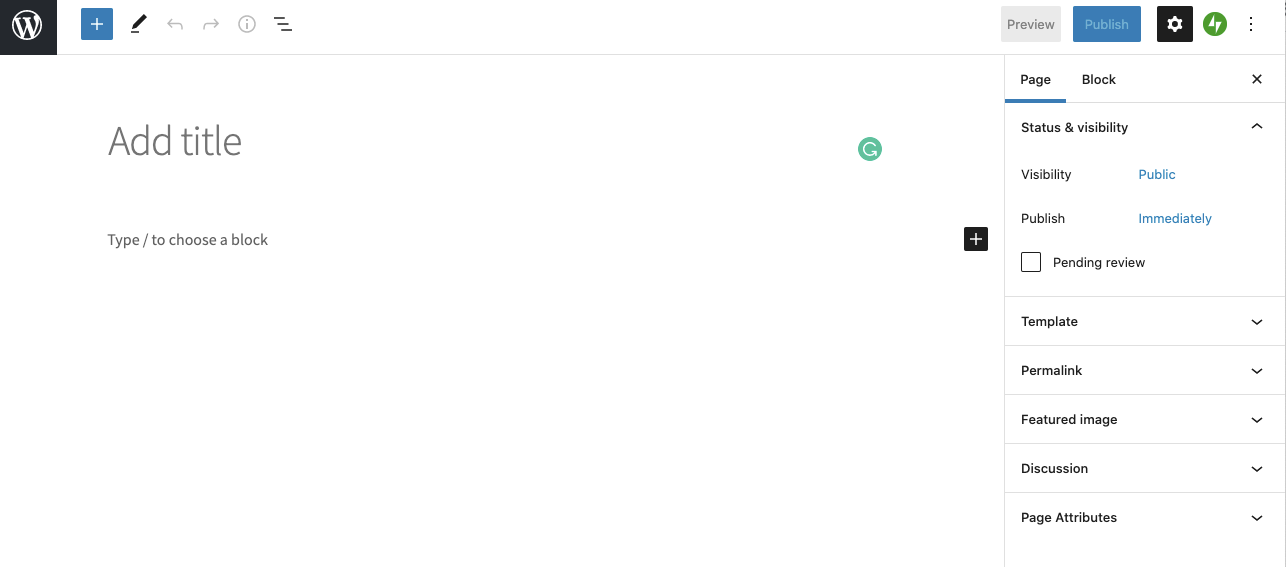
- You will see the page editor screen.
- Provide a title for your page
- Add content, which may include text, links, images, etc.
- After you have the page as you want it, click “Publish.”
You can repeat this process to add as many pages as you want to your website. And, of course, you can add pages as you recognize the need for them. Before you begin customizing your theme, create two blank pages. One titled “Homepage” and the other titled “Blog.” We’ll use those pages in the next step.
To add posts to your WordPress website:
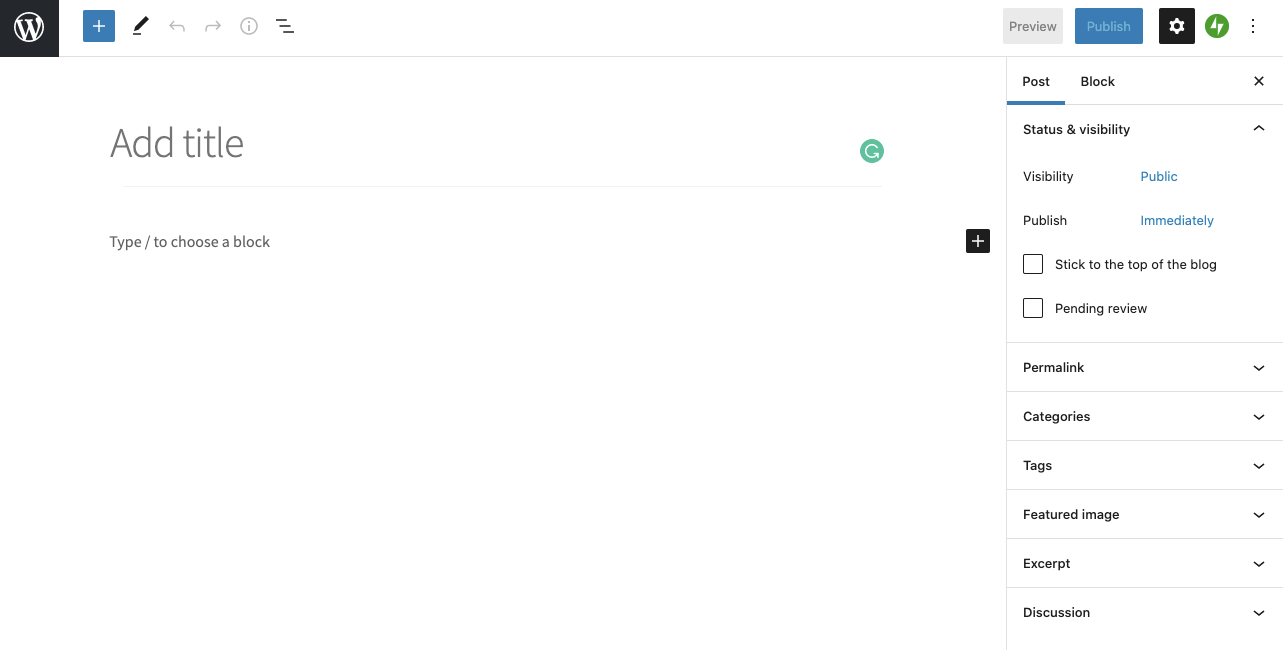
- You will see the post editor screen.
- Provide a title for your post
- Add content, which may include text, links, images, etc.
- Select the categories and tags you want for your post.
- After you have the post as you want it, click “Publish.”
You repeat this process every time you add a post to your site.
Step 4: Configure Your WordPress Theme
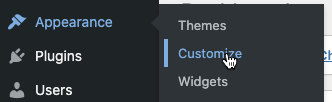
Now that you selected a theme and made at least a couple of pages, it’s time to customize the look of your site. Go to “Appearance” and choose “Customize.”
You’ll now see all the options for how to customize your WordPress theme:
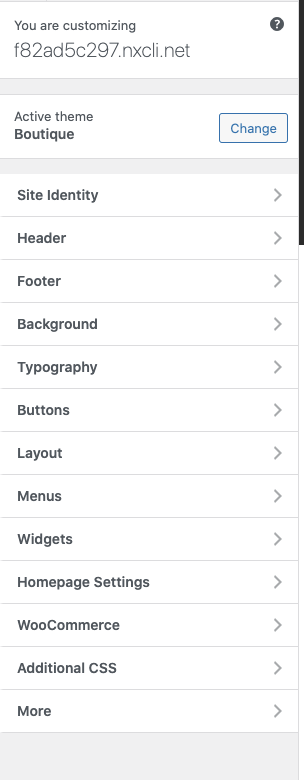
Start by clicking “Homepage Settings.”
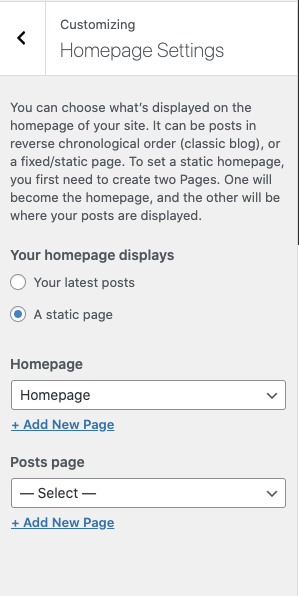
You can select to use a static page for your homepage or a blog listing that shows all your latest blog posts. If you installed a theme with a cool-looking homepage, but you can’t see it when you preview your site, this is the setting you need to change. Select “A Static Page” under “Homepage Displays.”
Related reading: Beginner’s Guide to WordPress Performance Optimization >>
Remember those blank pages we created in the last step? You can use the dropdown to select “Homepage” under the Homepage and “Blog” for the posts page.
As you make changes, you’ll see a preview of the new homepage to your right. Click through the remaining options to customize your website’s colors, fonts, headers, and footers.
How to Edit a Header and Menu
The header of your website is the top part with your logo and navigation. You’ll want to check out a few sections of the customizer to edit your header:
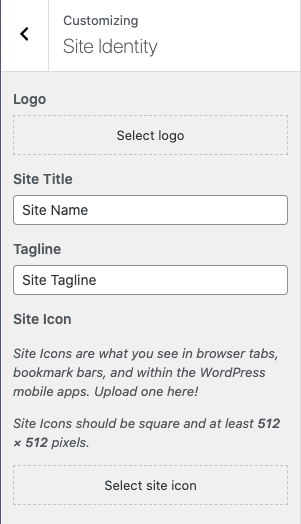
- Click on “Site Identity.” Most themes will pull the header logo or site name from this section.
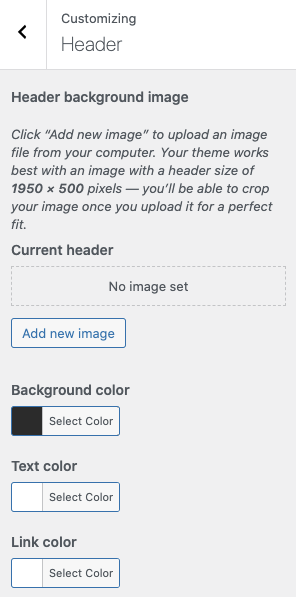
- Click on “Header.” Themes often include settings for customizing the color and background of the header here.
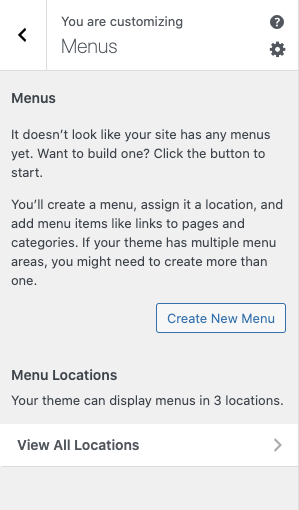
- Click on “Menu.” This menu area is where you tell WordPress what links to include in your site’s navigation. To create a menu, click the “Create New Menu” button.
You can also edit menus from the main Dashboard navigation by clicking “Appearance” and “Menu.”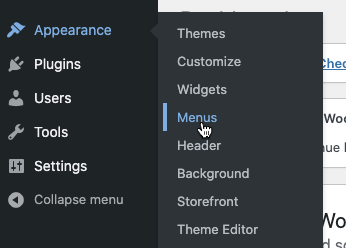
On the “Create Menu” screen, give your menu a name and hit the “Create Menu” button.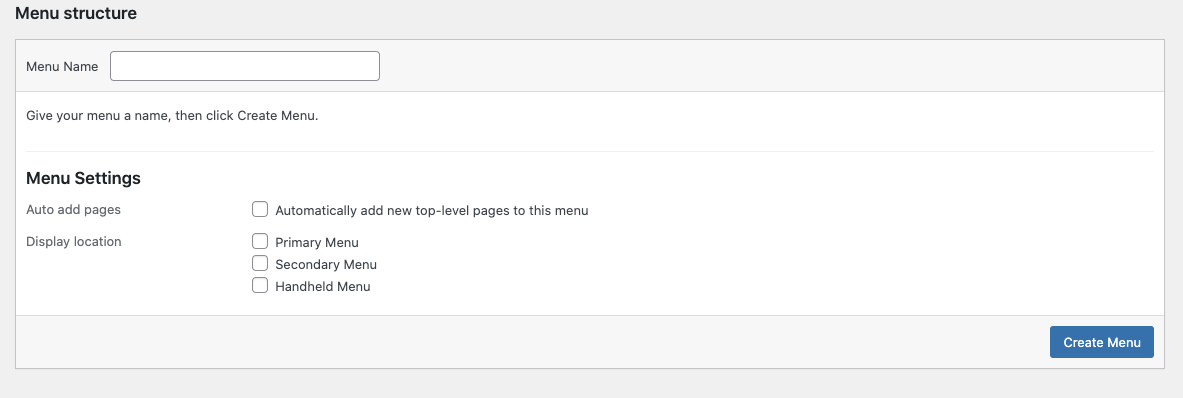
Use the box on the left to add pages, posts, or other links to your site’s navigation, and then click the “Save Menu” button.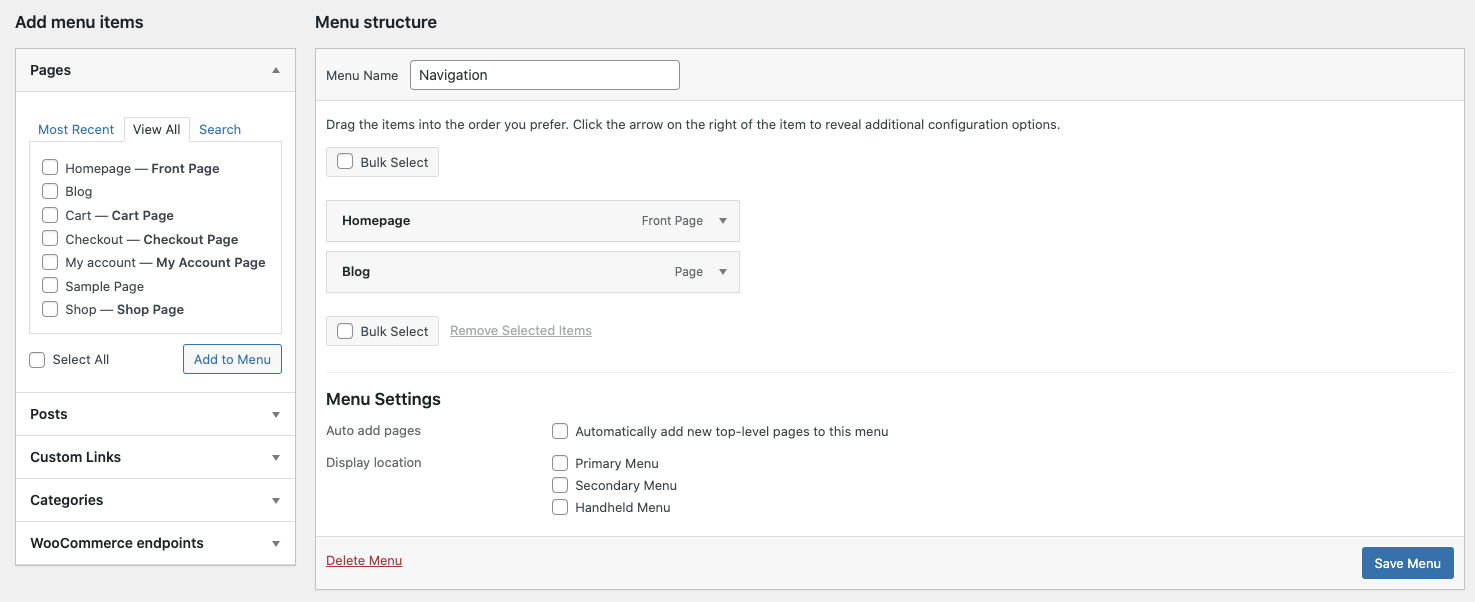
How to Edit a Footer
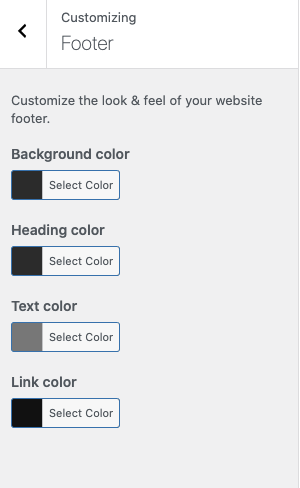
When setting up your site, you’ll probably want to edit the footer. The footer in WordPress is the bottom part of your website that appears after the content area. It appears on all pages of your website. You may want to add specific elements to your footer. But, at the least, you’ll want to change the copyright date and perhaps remove the “powered by WordPress” branding. Look for the area labeled “footer.” Once you select the footer area, you should quickly see where and how to edit the footer text.
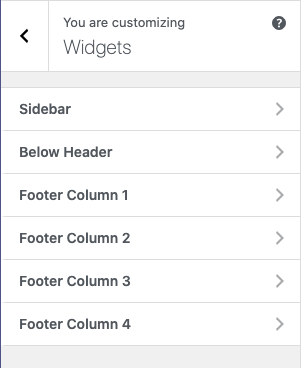
Some themes will not include the content in the footer section of the customizer. You’ll only see color options:
In that case, you’ll want to head to the “Widgets” section on the customizer menu. You’ll see options to update the content for each section of the footer.
Step 5: How to Add WordPress Plugins to Your Site
The customization options you see under the Customize tab vary by theme. Most people need to install WordPress plugins to complete all the customizations they want for their site.
WordPress plugins are like apps for your WordPress website. You can choose from thousands of plugins to add features and functionality to your site. But before you start going plugin wild, remember that each plugin you install potentially slows down your site. So only use what you need to make your site operate well.
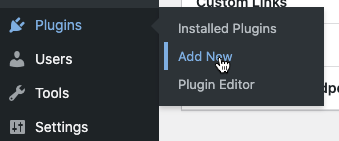
To install a WordPress plugin on your site:
- Log into your WordPress dashboard
- Choose “Plugins”
- Select “Add New”
- From there, you can search through all of the WordPress plugins to find what you’re looking for.
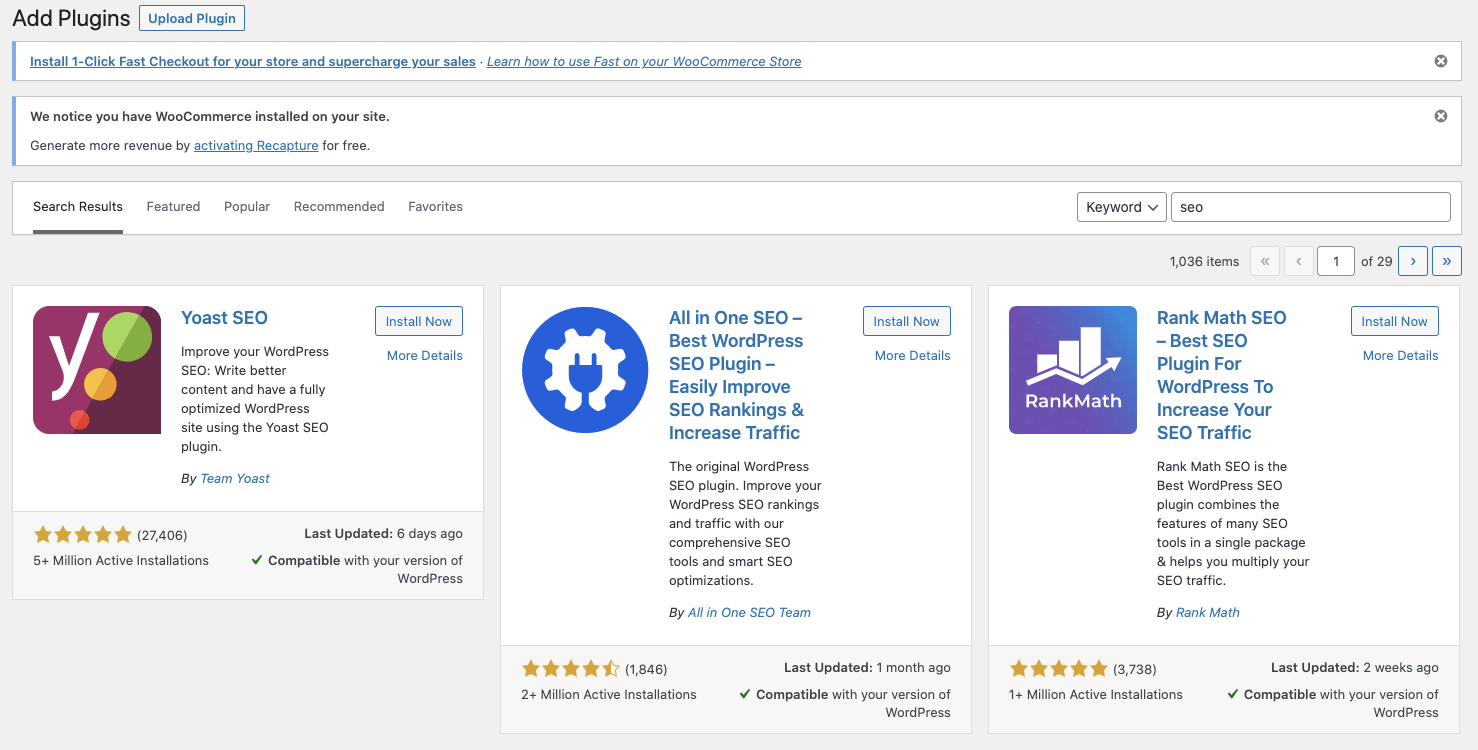
- When you find the plugin you want to use, click “Install Now.”
- Select “Activate”
- You’ll automatically redirect to the tab containing all of your site’s installed plugins. You also will see a message at the top of the screen confirming the plugin’s activation.
- Go to “Settings”
- Select the plugin you installed
- Fill in any blanks you need to so the plugin is fully functioning.
Remember to uninstall any plugins you aren’t using to ensure that they don’t slow down your site. Also, update plugins as updates become available to keep them fully functioning.
Typical uses of plugins include:
- Adding fonts to your site
- Adding meta tags
- Backing up your site
How to Add Fonts
You don’t have to install custom fonts on your site. Instead, you may choose to use the fonts that are part of your theme. But if you want to add them, custom fonts can improve the typography and user experience. They also can make your site stand out from others using the same theme.
There are various places online to get free fonts for your site, including Google Fonts. Google Fonts is the largest, most popular, free font library for websites. You can add Google Fonts to your website manually or using a WordPress plugin.
To install Google Fonts to your site with a plugin:
- Log into your WordPress dashboard
- Click “Plugins”
- Choose “Add New”
- Search for “Easy Google Fonts”
- When you find the plugin, click “Install Now”
- Select “Activate”
- Select “Appearance”
- Select “Customizer”
- Click “Typography” to see font choices
- Choose from the drop-down menu and select “Edit Font” to change the fonts on specific sections of your site
- Save your changes
Remember that loading a lot of fonts onto your website can slow it down. It’s best to choose one or two fonts and use them across your site.
How to Add Meta Tags
Search engines try to gather as much information about your site as possible, including meta tags. Meta tags are data that isn’t visible to users. They’re another way to tell Google about your site.
Meta tags tell Google things like:
- the meta description
- author
- type of document
- language
- copyright
You don’t need to include keywords in your meta tags. Those haven’t ranked since 2009.
Related reading: Top 5 Tips for Website Speed Optimization >>
The default installation of WordPress doesn’t contain meta-tag data, so you have to add them yourself. You can add meta tags to your site manually or through a WordPress plugin.
To add meta tags with a WordPress plugin:
- Log into your WordPress dashboard
- Click “Plugins”
- Choose “Add New”
- Search for “Meta Tag Manager”
- When you find the plugin you want to use, click “Install Now.”
- Select “Activate”
- You’ll automatically go to the tab containing all of your site’s installed plugins. You also will see a message at the top of the screen confirming the plugin’s activation.
- Go to “Settings”
- Select “Meta Tag Manager”
- Create tags and assign them to different areas of your site, as directed by the plugin.
Step 6: How to Back Up Your WordPress Website
It may seem silly as you launch your site to think about a backup, but you want to protect your work right from the beginning. A backup is a copy of your site that you can restore if something goes wrong and your site disappears. You don’t want to lose your content, so a backup of your site protects your time and resources.
A full WordPress backup includes:
- Website Files. The files include your theme, plugins, scripts, media, etc. They’re anything dealing with the structure and functioning of your site.
- Database. The MySQL database stores your blog posts, comments, and any options you set in the admin area.
You want to back up both to protect your entire site.
3 ways you can choose to back up your site:
- Host. The first way to backup your website is the easiest, especially when you choose a host you trust. If you choose a host who does a daily backup of your site, you always have it. You can log on and download a zip file of the backup from time to time for double protection if you choose.
- Manually. The second way to backup your site is manually. This method requires you to log into your host server and download your WordPress directory. It’s a little more complicated, but you get used to the process after you’ve done it once or twice.
- Plugins. The third method to backup your website is through a plugin. WordPress offers a variety of plugins that automatically backup your site on a chosen schedule.
It doesn’t matter how you choose to back up your site. The most important thing is that you do it to protect your work.
Creating a WordPress Website
Use this post to guide you when setting up a WordPress website for your brand. There are many details to consider when setting up your site, but fortunately you only have to make most decisions once.
Consider Hosting Your WordPress Website With Hostdedi
Now that you know how to create a WordPress website, where will you host it? Consider hosting with Hostdedi fully managed WordPress hosting.
Benefits managed WordPress hosting with Hostdedi include:
- Faster Websites. All managed WordPress plans include premium image compression, automatic CDN, and advanced caching to deliver the quickest WordPress sites.
- Automatic Updates. Never worry about updates again with our automatic plugin updates with visual comparisons.
- Security Monitoring and Support. Our WordPress experts are available around the clock to keep your site running securely.
- Plugin Performance Monitor. Our exclusive Plugin Performance Monitor tracks your site speed and alerts you when a new or updated plugin starts to slow down your site.
Start building a better WordPress site. Check out our WordPress hosting plans today.